
Preparing Artwork for Direct Printing on the Product
Most reprints are not caused by the printer. They are caused by a file that was never set up for the size it ended up being printed at. Five things fix nearly all of it.
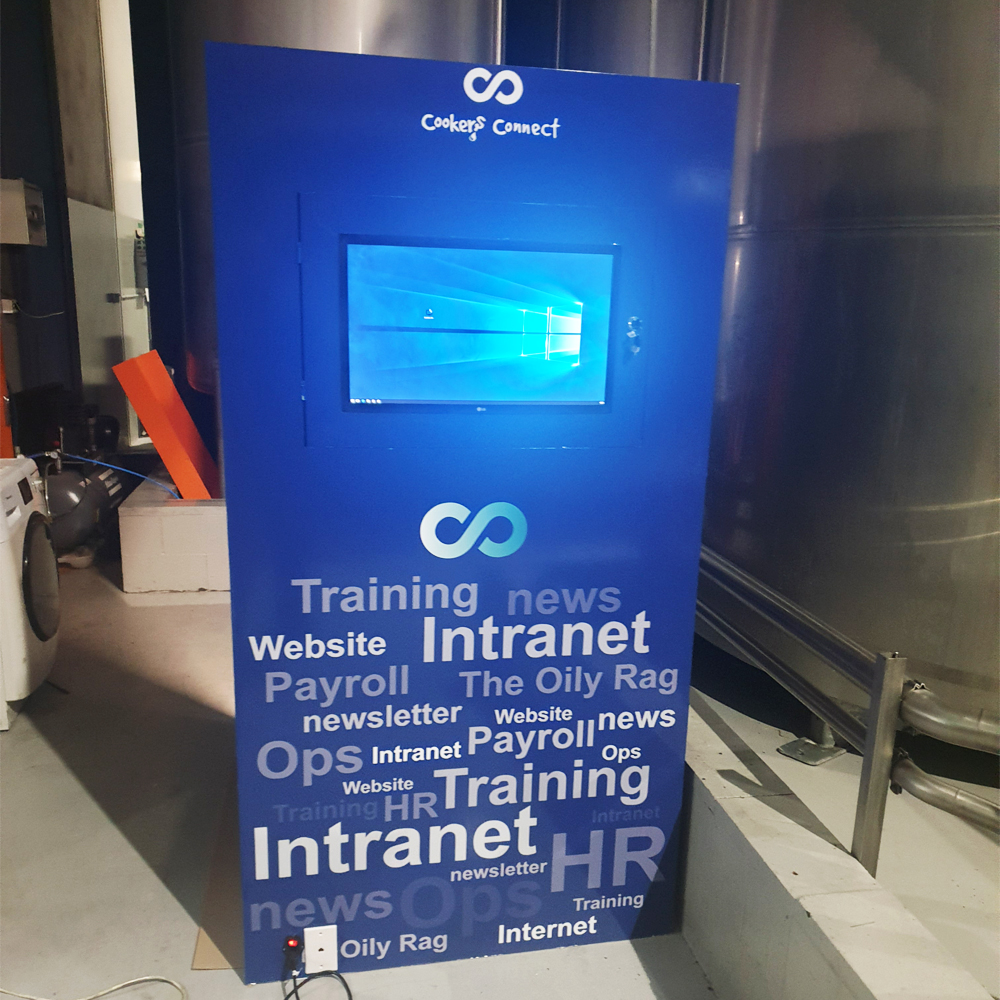
Direct printing puts ink onto the finished component rather than onto a film that is then stuck down. It looks better and lasts longer, but it is less forgiving: there is no laminate to hide behind, and what you supply is essentially what you get.
Here is how to set the file up so the panel comes back looking like what you designed.
1. Build the File at the Right Size
The single most common problem is artwork designed at A4 and then blown up to a metre wide. Everything survives that except the resolution.
Wherever possible, build the document at the actual finished size. If the panel is 900 × 600 mm, make the artboard 900 × 600 mm. If that is impractical for a very large piece, build at a clean fraction — half or quarter size — and tell us the scale factor in the file name.
What Resolution Do You Need?
Large format is viewed from further away, so it does not need the 300 dpi that a brochure does. As a rough guide at final size:
- Handled up close (counter displays, product panels) — aim for 150–200 dpi.
- Viewed from a metre or two (floor stands, wall panels) — 100–150 dpi is plenty.
- Vector artwork — resolution independent, use it wherever you can.
2. Add Bleed, and Keep Content Away From the Edge
If the design runs to the edge of the panel, extend the background past the trim line by at least 3 mm on every side. Material shifts fractionally during cutting, and bleed is what stops a hairline of bare substrate appearing along one edge.
The reverse also applies: keep text and logos at least 5 mm inside the trim line so nothing important lands on a rounded corner or a fixing hole.
3. Send It in CMYK, and Flag Critical Colours
Screens are RGB, printers are CMYK. If you supply RGB, a conversion happens somewhere — and if it happens automatically, bright screen blues and vivid greens are the first things to shift.
Convert to CMYK yourself so you get to see the change and approve it. If you have a brand colour that has to be right, name it explicitly — the Pantone reference or the exact CMYK breakdown — rather than assuming it will be picked up.
4. Supply Cut Lines as a Separate Path
If the piece is being cut to shape, we need to know where the cutter goes. Put that outline on its own layer, named clearly, as a single closed vector path with no fill.
Include the same treatment for any internal features — screw holes, cable slots, window cut-outs — and note their diameters. A cut line drawn as a dashed decorative border is not a cut line, and we will come back and ask.
5. Think About White Ink
On clear or coloured substrate, white ink is what makes the rest of the artwork read properly. Printing straight onto clear acrylic without a white base gives a translucent, washed out result — which is occasionally the effect you want, and usually is not.
Tell us whether you want a solid white base under the whole graphic, white only under specific elements, or no white at all with the substrate showing through.
A Quick Pre-Flight Checklist
| Item | What we need |
|---|---|
| Document size | Final size, or a stated clean scale factor |
| Bleed | 3 mm minimum on all sides |
| Safe margin | Text and logos 5 mm inside the trim |
| Colour | CMYK, with brand colours specified |
| Fonts | Outlined, or supplied with the file |
| Cut line | Named layer, closed vector path, no fill |
| White ink | Say where you want it, if anywhere |
| Format | AI, EPS or press ready PDF |
If That Sounds Like Work
It is, and you do not have to do it. Our graphic designer is included with the job at no charge, so you can send a rough layout or even a photograph of what you want and we will build the print ready file for you.
Read more about direct printing on the product, or send your artwork through and we will pre-flight it before anything is committed to material.